It’s all about that base
Congrats on the new build. Now it’s time to paint those walls.
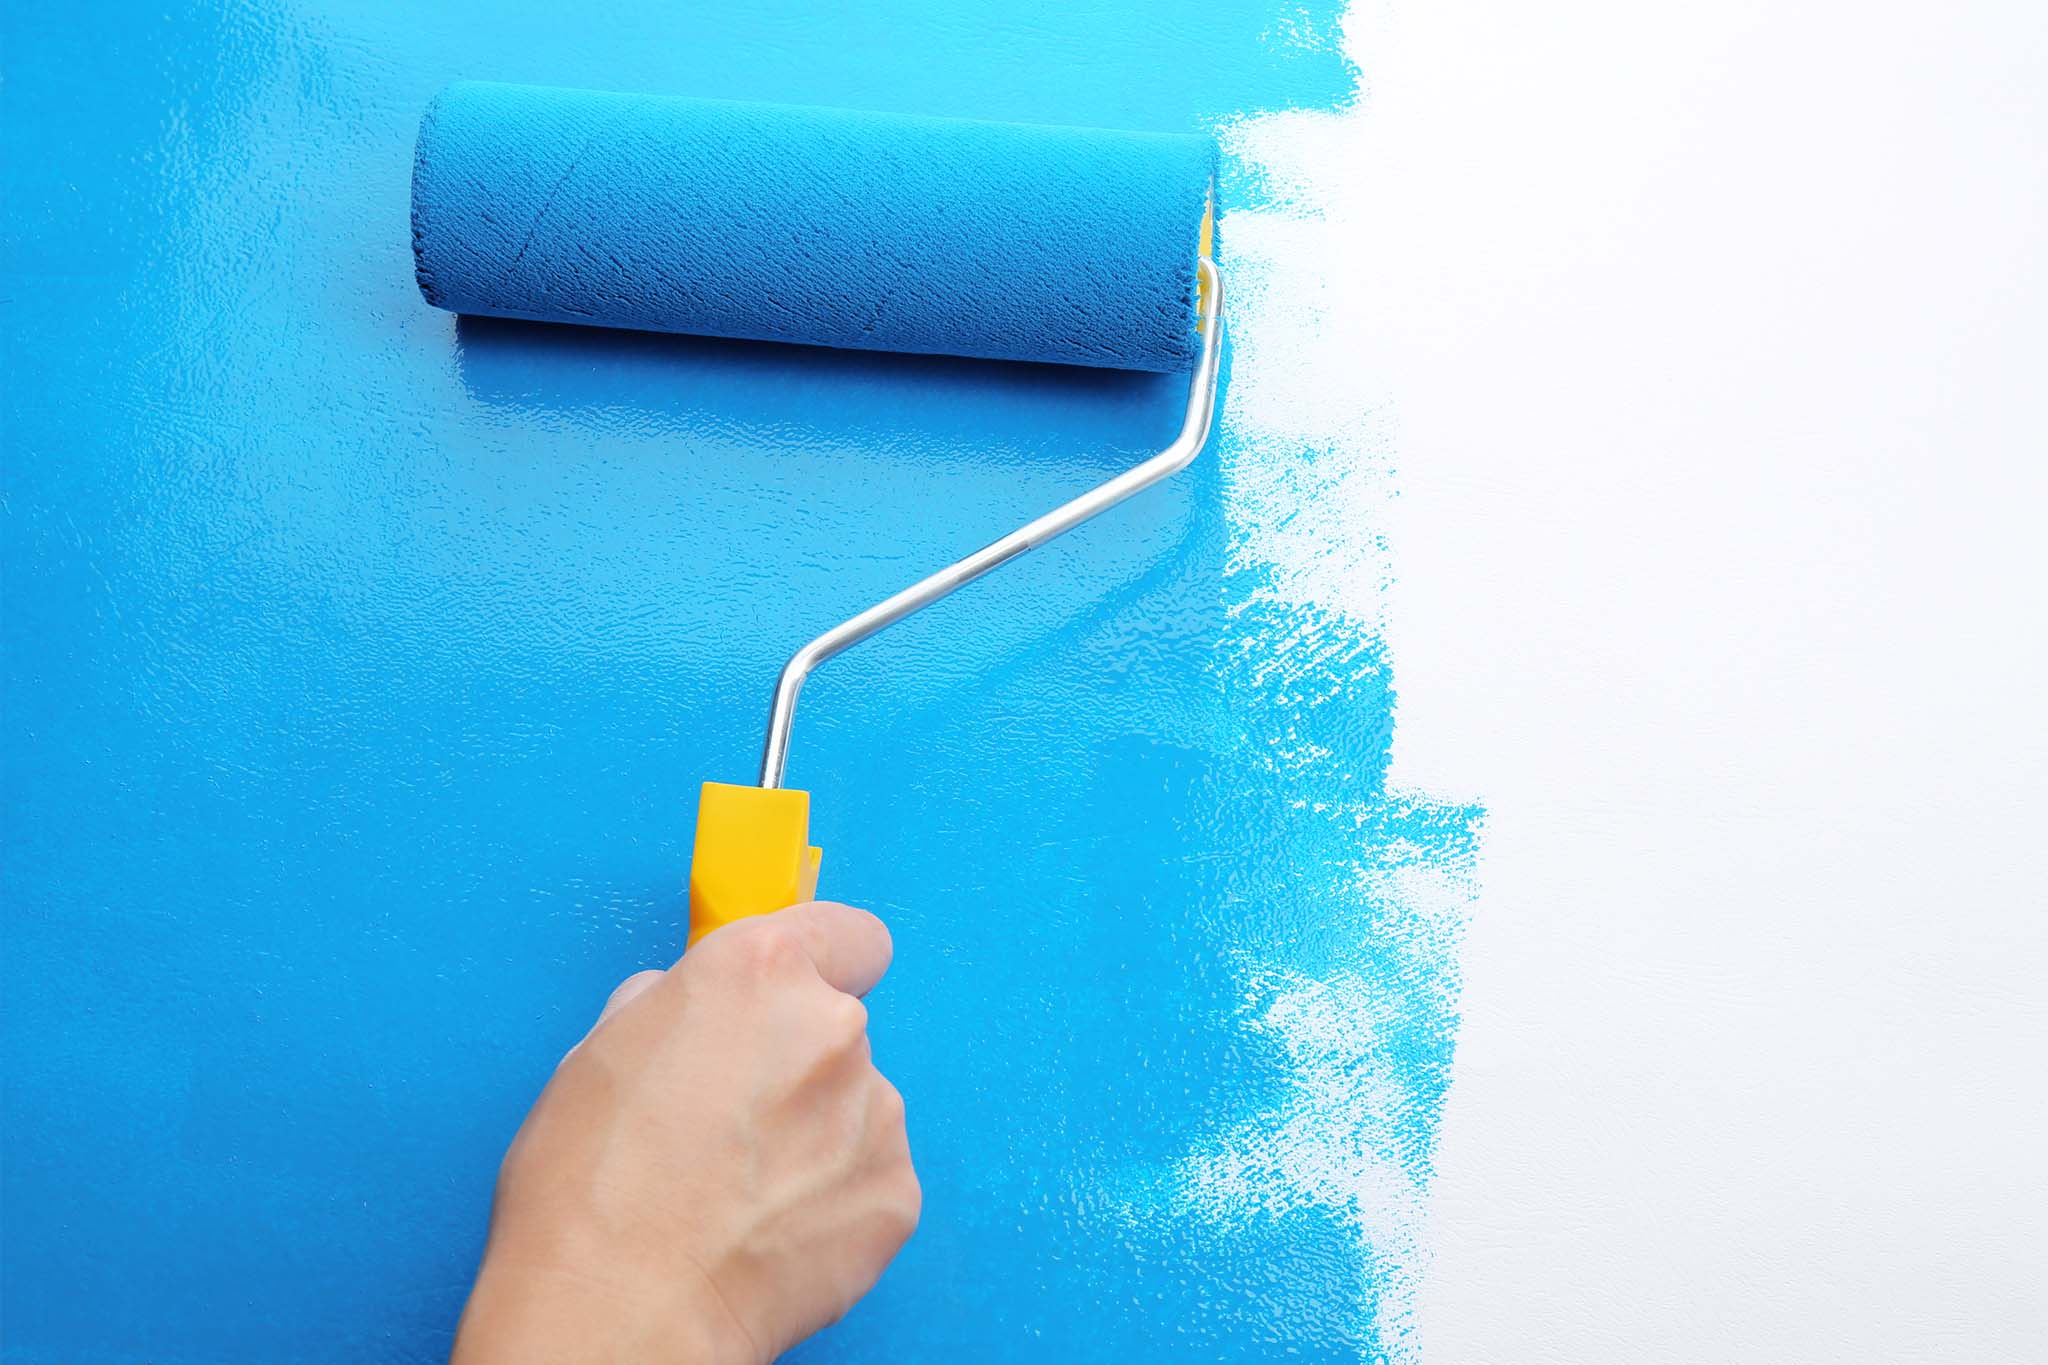
Just Google and you’ll easily find a painter in your area that will come out prep, undercoat and paint your new walls for you but, what if you wanted to do them yourself? Well, you can.
The colours you can choose from to paint your new walls are only limited by your imagination, however, if you don’t prepare your walls properly, all that hard work painting could end in disaster! Base coats adhere to your new walls filling in any small hairline cracks that might appear as the plaster dries. They also penetrate and seal your plaster giving your topcoat a nice, smooth, impermeable surface to stick to, and help you use less paint on your topcoat.
So how do you pick the right base coat for your walls? First you need to work out if you have bare plasterboard or bare set plaster (also known as White Set Plaster) and if you want to use an acrylic based or oil based undercoat.
Bare plasterboard

Bare plasterboard comes in sheets that are installed as panels to create walls. Most ceilings are constructed from bare plasterboard, but these are usually already painted by the time the house is finished.
Before you start painting your new walls, Dulux recommend that you wipe down the surfaces to be painted with a damp cloth to remove all dust. After the walls are dry you can go ahead and apply an Acrylic Primer Sealer Undercoat. An Acrylic Primer Sealer undercoat is water based, mould resistant and gives your walls excellent coverage saving you time and money. This undercoat can be brushed, rolled or even sprayed on to your walls and clean up is a breeze as you only need water!
Bare set plaster

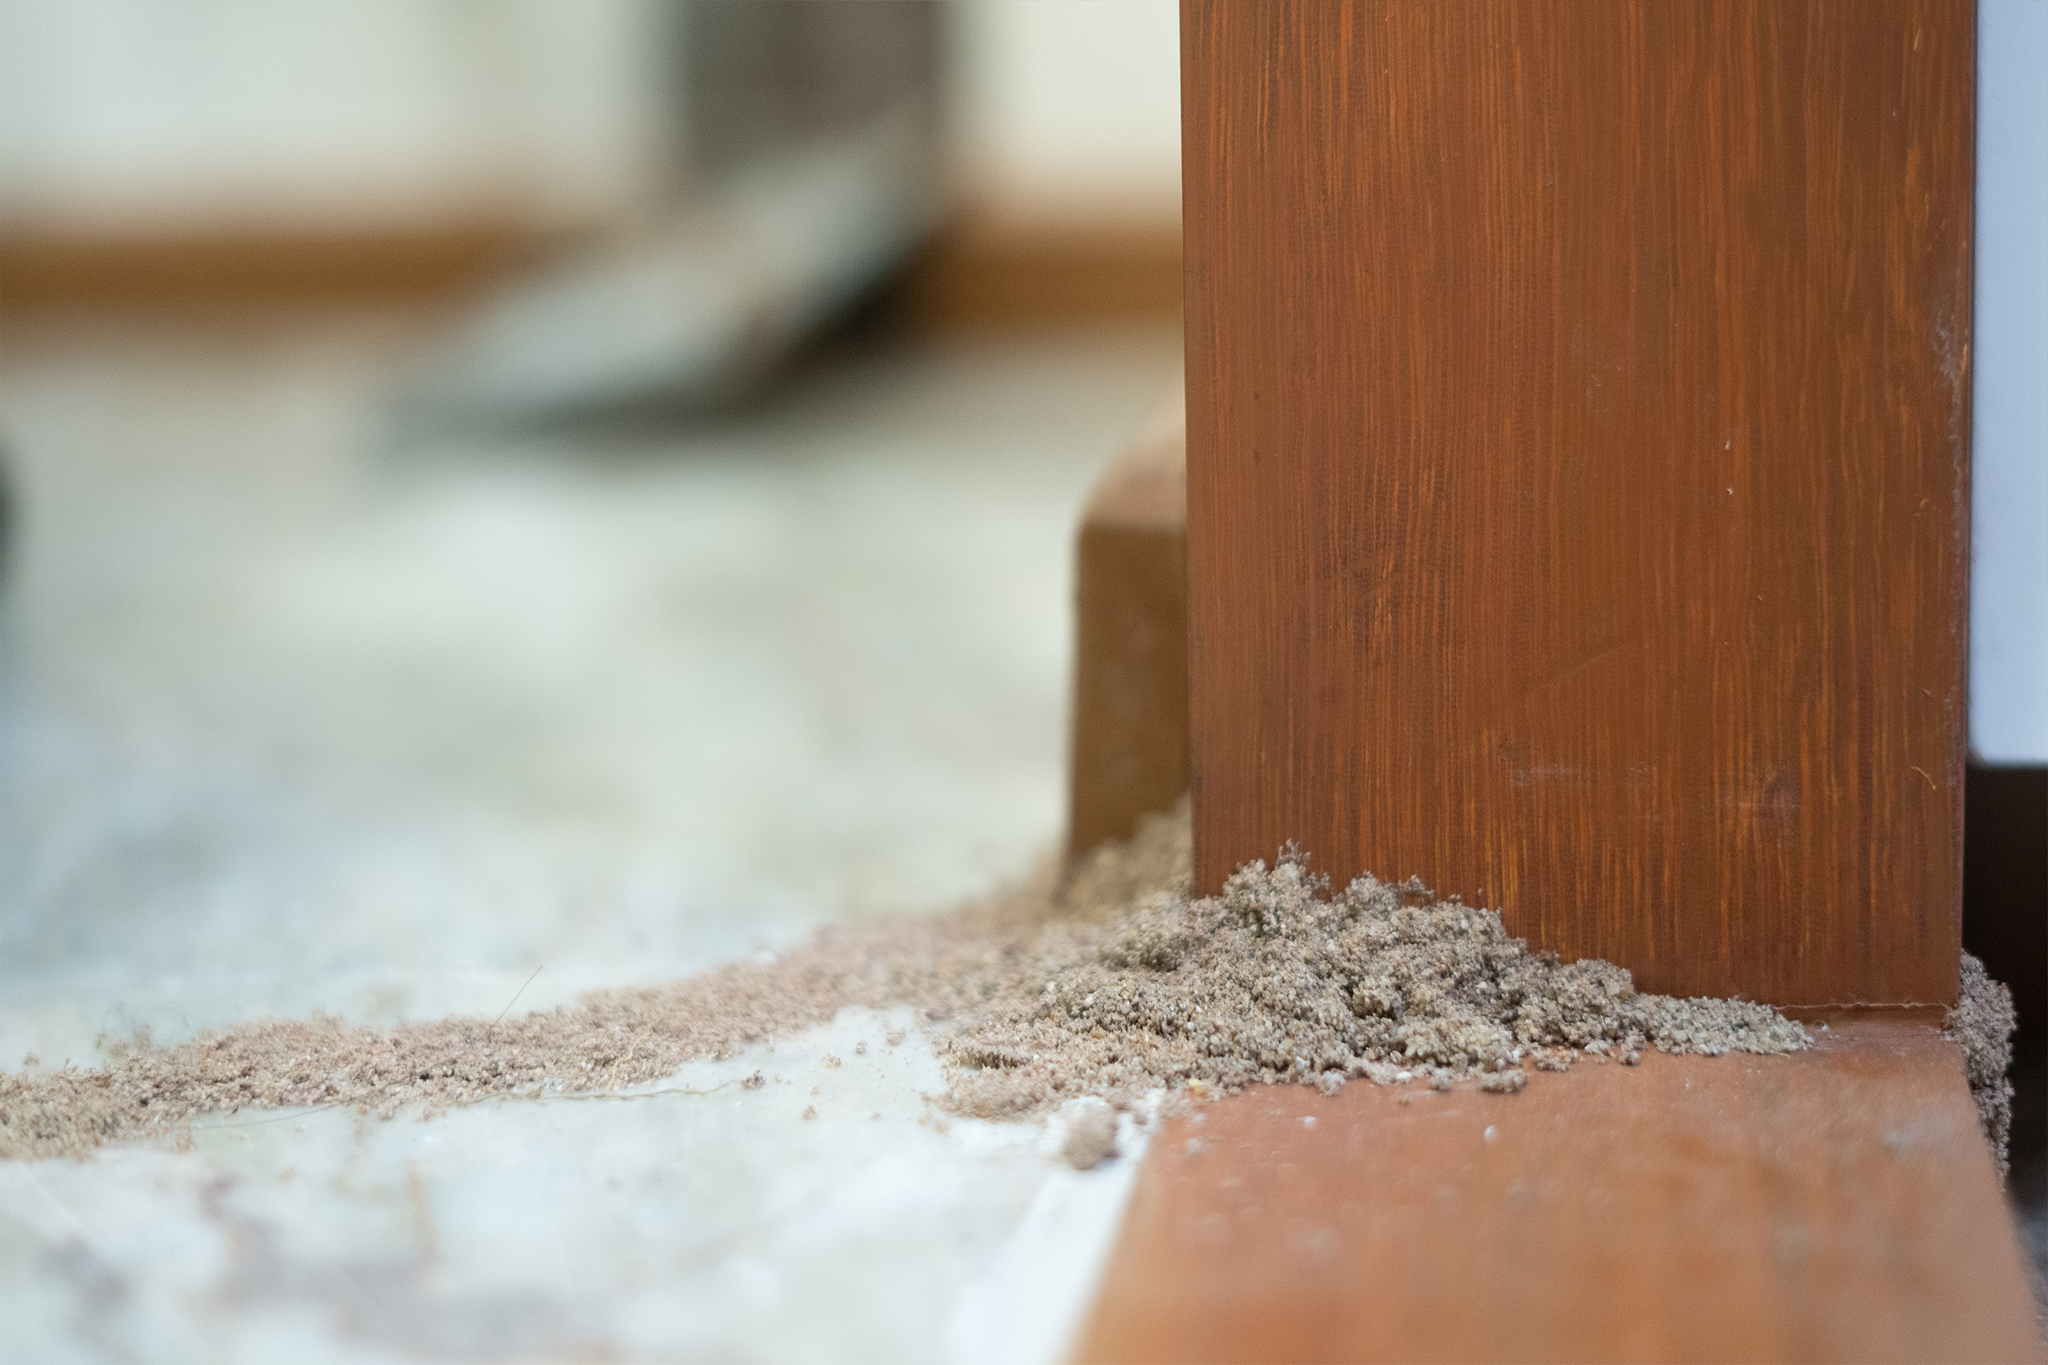
Bare set plaster walls are made up of three layers. First layer is your internal brick wall, second layer is a cement render followed by a layer of lime plaster or White Set Plaster. Now, that last layer is very porous, and if you don’t seal it properly you might find all that new paint you just put on your walls will peel off in chunks!
So firstly, fill in the more noticeable cracks with a suitable filler and do a quick, light sand on any rough patches and then wipe down the walls with a damp cloth. Once the walls are clean and dust free you can either roll or brush on the oil based sealer. Using an oil based sealer on bare set plaster will help to bind the chalky surface together, giving the walls a great surface for your paint. When you’ve finished with your brushes, rollers and any other equipment you might have used, you will need to use mineral turpentine to aid in the clean up. Soaking your equipment in mineral turpentine for about 15mins will help loosen up the worst of it, making clean up a little faster.
A few other helpful hints when painting your new walls –
- Cover up EVERYTHING, the last thing you want to do it get paint on those new floors or windows, get yourself some drop cloths and tape to protect fixtures.
- Always pour a little paint out at a time, you can always go fill your paint tray up if you run out but trying to pour paint back into the tin if you don’t use it can be a very messy exercise.
- Safety first, make you have a good step ladder or stool to access those hard to reach places.